Monday, December 16, 2013

24: creating a 3d viewing of your gingerbread house

Back to Photoshop!
By separating the RGB channels - red and blue to be exact, to create the illusion of "3D" click the picture for instruction. Due 12-20-13

that's it for for 2013.... see you in 2014!


Tuesday, December 10, 2013

23: Gingerbread house email to NEW email: mcsm3d@gmail.com

Last week of 2013: Make a gingerbread house from scratch.... Due 12-18-13


Post the original picture to your blog so you have your own online handout...
when you are done please export the front ISO and back ISO and 
put them together using Photoshop with label

Tuesday, December 3, 2013

22: 12 Blocks with Precise dimensions followed by a Quiz

22: count each "diamond" box as 1 foot 
recreate each of the following blocks with the correct measurement.                               
12/3/13 = block # 1 ... 12/4/13= block # 2... 12/5/13 = block # 3... 12/6/13 = Block # 4
12/9/13 = block # 5 &6 ... 12/10/13 = block # 7 & 8... 
12/11/13 = block # 9 & 10... 12/12/13= block # 11 & 12  
12/13/13  QUIZ => Quiz email to mcsm3d@gmail.com
you may want to save this diagram on your desktop "count" the "Diamonds" easily. ask for a hard copy if that's easier for you.

go under window and click on instructor if you get stuck with a tool button.

getting the precise measurement:
after you set the view needed to draw the face of the block. click on line tool and then type in the dimension box (lower right corner) to type in the desired measurement. For example if you want a vertical line that is 5 feet tall, then type 5' (' = feet). 
(click on a starting point and move your mouse towards the direction you want the line to draw...then type the measurement. like block #1 =LxWxH of 8'x 5'x5')


Monday, December 2, 2013

3rd Marking Period starts Googles Sketches #21a, b, and c

Introduction to Google Sketch Up .... you can download your own version! Google SketchUp 
----->V............Look for the red staircase on your desktop


Assignment 21 A: Set the screen to front view & 
Practice with the basic tools. Export to JPG to upload into the blog.
set in front view then draw the shapes #21A followed by the "push & pull" tool for the 3D Objects #21B
Now you ready to try and draw your own name in "bubble letter" for #21C

when you are done email all files .skp & Jpeg 
with the correct subject: 
TZS11-02,5,6,8 Your Period / Name #21 a b and c


Wednesday, November 20, 2013

2nd Report card

A checklist was given out on Monday 11-18-13 for you, so you should have already email all the assignments and updated your blog from #11 to 18....

Here's a recap of Photoshop & Illustrator assignments
#11: Flyer from scratch of "Noche de Ciencias" or PJ DAY 2013 on Dec 20, 2013
#12: Adding Texture via Layers
#13: Change one thing Poster from NYC Food Bank
#14: Jack O' Lantern
#15a & b: Creating a "Painted" effect on wall then face.
#16: Smart Filtering with Motion Blur
#17: Quick Masking to add a desire effect
#18: Soft Filtering Skin tones.
^V^V^V^V^V^V^V^V^V^V^V^V^V^V^V^V^V^V^V^V^V^ 2nd Marking Period ^V^V^V^V^V^
Adobe Illustrator
#19: USB Drive
#20 Wireless Phone (test) due 11-27-13 last day of the marking period


Now you are done you can show off your BLOG to your family at Thanksgiving....
have them leave a comment =)
Have a safe and wonderful Thanksgiving - Miss Wang

As of 11/26/13

Friday, November 15, 2013

19 & 20: Adobe Illustrator (USB drive & Wireless Phone)


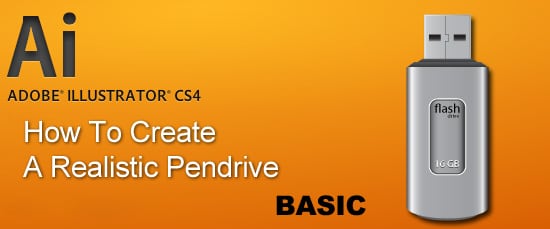
19. How To Create A Realistic Pendrive in Adobe Illustrator. Due Wed 11-20-13

This is a guest post by Ubiratan Cunha in this Adobe Illustrator tutorial he will show us how to create a realistic pendrive only using shapes and gradients. Observation to details like lights and shades can make all the difference. Hope you enjoy it!
***************************************************************************************************************
Test Time!

Assignment #20 Due 11-27 Happy Thanks Giving =)
http://vector.tutsplus.com/tutorials/illustration/how-to-create-a-stylish-wireless-phone/

Friday, November 8, 2013

16 -18 more Photoshop basics

last semester we Photoshop text. Now we Photoshop Pictures...

16.


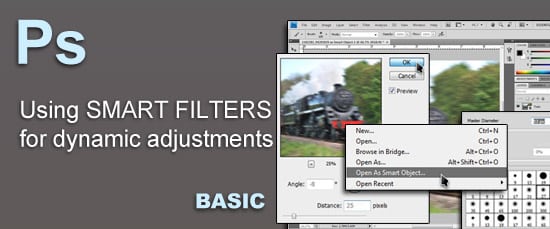
Understanding and Using SMART FILTERS in Photoshop for dynamic adjustments. #16

4
To start using Smart Filters you need first to create a Smart Object Layer. Actually, any filter applied to a smart object layer becomes a Smart Filter. This type of method is completely nondestructive and offers more image-editing flexibility than ever before.

Continue Reading


 17.

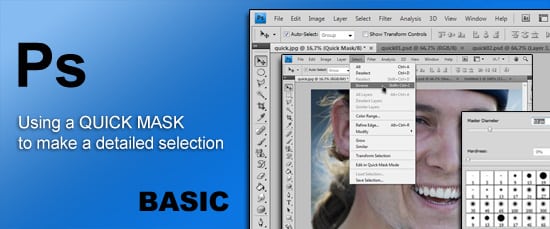
Using a QUICK MASK to make a detailed selection #17

4
In Photoshop you can make selections in many different ways but if you are looking to capture those small details and be very precise than this easy to follow tutorial will get you up to date and you will be making crazy detail selections in minutes.

Continue Reading


18.

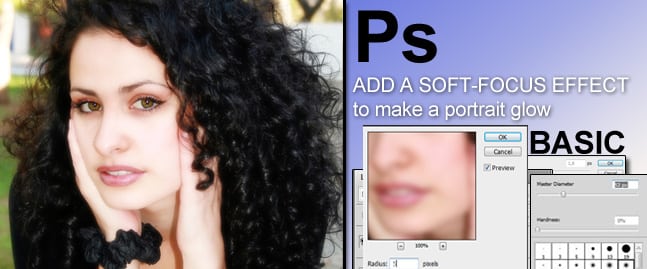
ADD A SOFT FOCUS EFFECT to make a portrait glow #18

In this easy to follow tutorial we are going to add a soft-focus effect to a portrait that not only minimizes skin imperfections but also adds a romantic glow to the subject’s skin and still keeps the subject’s main features in focus. This technique is a must now for everyone who want to work in the photo retouching department.

Continue Reading

Difficulty: Beginner
Length: Medium


chris-tabbar-full