A checklist was given out on Monday 11-18-13 for you, so you should have already email all the assignments and updated your blog from #11 to 18....
Here's a recap of Photoshop & Illustrator assignments #11: Flyer from scratch of "Noche de Ciencias" or PJ DAY 2013 on Dec 20, 2013 #12: Adding Texture via Layers #13: Change one thing Poster from NYC Food Bank #14: Jack O' Lantern #15a & b: Creating a "Painted" effect on wall then face. #
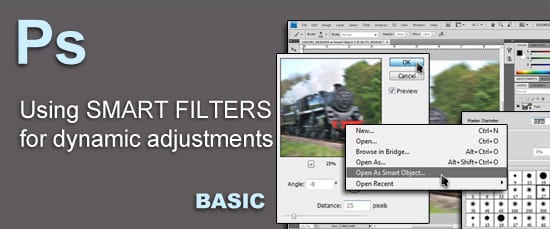
16: Smart Filtering with Motion Blur #
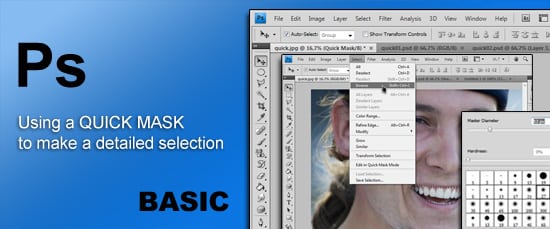
17: Quick Masking to add a desire effect #18: Soft Filtering Skin tones.
^V^V^V^V^V^V^V^V^V^V^V^V^V^V^V^V^V^V^V^V^V^ 2nd Marking Period ^V^V^V^V^V^ Adobe Illustrator #19: USB Drive #20 Wireless Phone (test) due 11-27-13 last day of the marking period
Now you are done you can show off your BLOG to your family at Thanksgiving....
have them leave a comment =) Have a safe and wonderful Thanksgiving - Miss Wang
This is a guest post by Ubiratan Cunha in this Adobe Illustrator tutorial he will show us how to create a realistic pendrive only using shapes and gradients. Observation to details like lights and shades can make all the difference. Hope you enjoy it!
***************************************************************************************************************
Test Time!
To start using Smart Filters you need first to create a Smart Object Layer. Actually, any filter applied to a smart object layer becomes a Smart Filter. This type of method is completely nondestructive and offers more image-editing flexibility than ever before.
In Photoshop you can make selections in many different ways but if you are looking to capture those small details and be very precise than this easy to follow tutorial will get you up to date and you will be making crazy detail selections in minutes.
In this easy to follow tutorial we are going to add a soft-focus effect to a portrait that not only minimizes skin imperfections but also adds a romantic glow to the subject’s skin and still keeps the subject’s main features in focus. This technique is a must now for everyone who want to work in the photo retouching department.
This is a guest post by Ubiratan Cunha in this Adobe Illustrator tutorial he will show us how to create a realistic pendrive only using shapes and gradients. Observation to details like lights and shades can make all the difference. Hope you enjoy it!